Digitising a 3 Manual Compton-Makin Organ: Part 6 - Moving

The plan for my organ was for it to live in my utility room, but due to renovating my house, it took me until last weekend to actually be in a state to receive the organ.
After booking a van and ramp, all was in place for moving the organ from where it was stored to my house. Getting the organ back into a van was remarkable simple: given the garage in which it was stored was at the top of an inclined driveway, parking the van near the bottom meant the ramp into van was almost flat and required no pushing uphill.
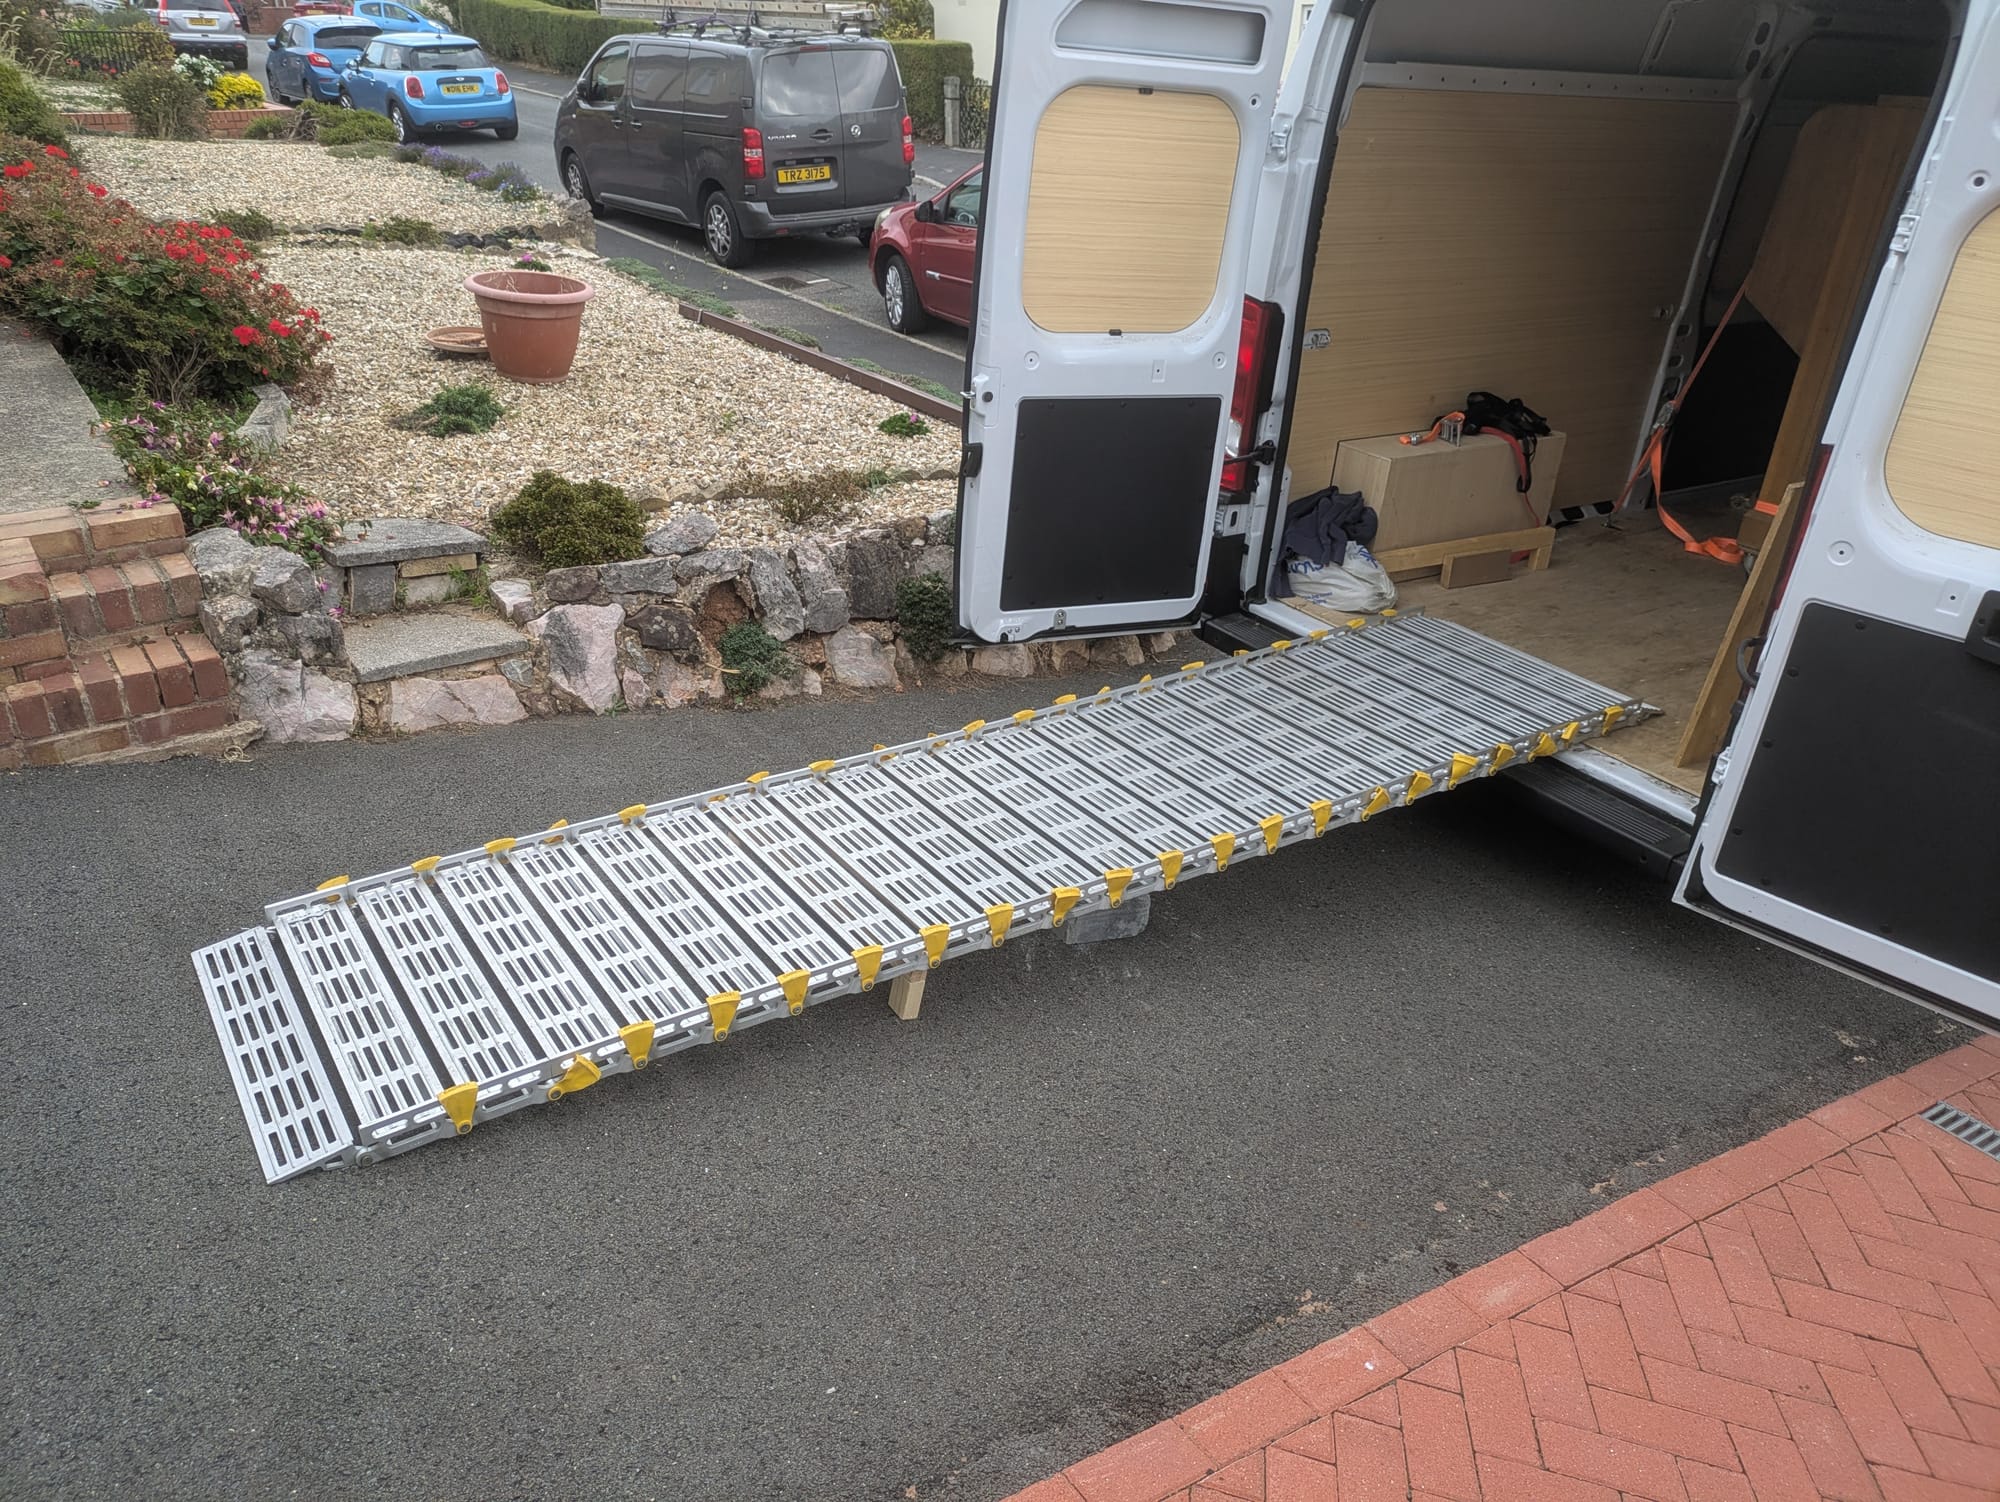
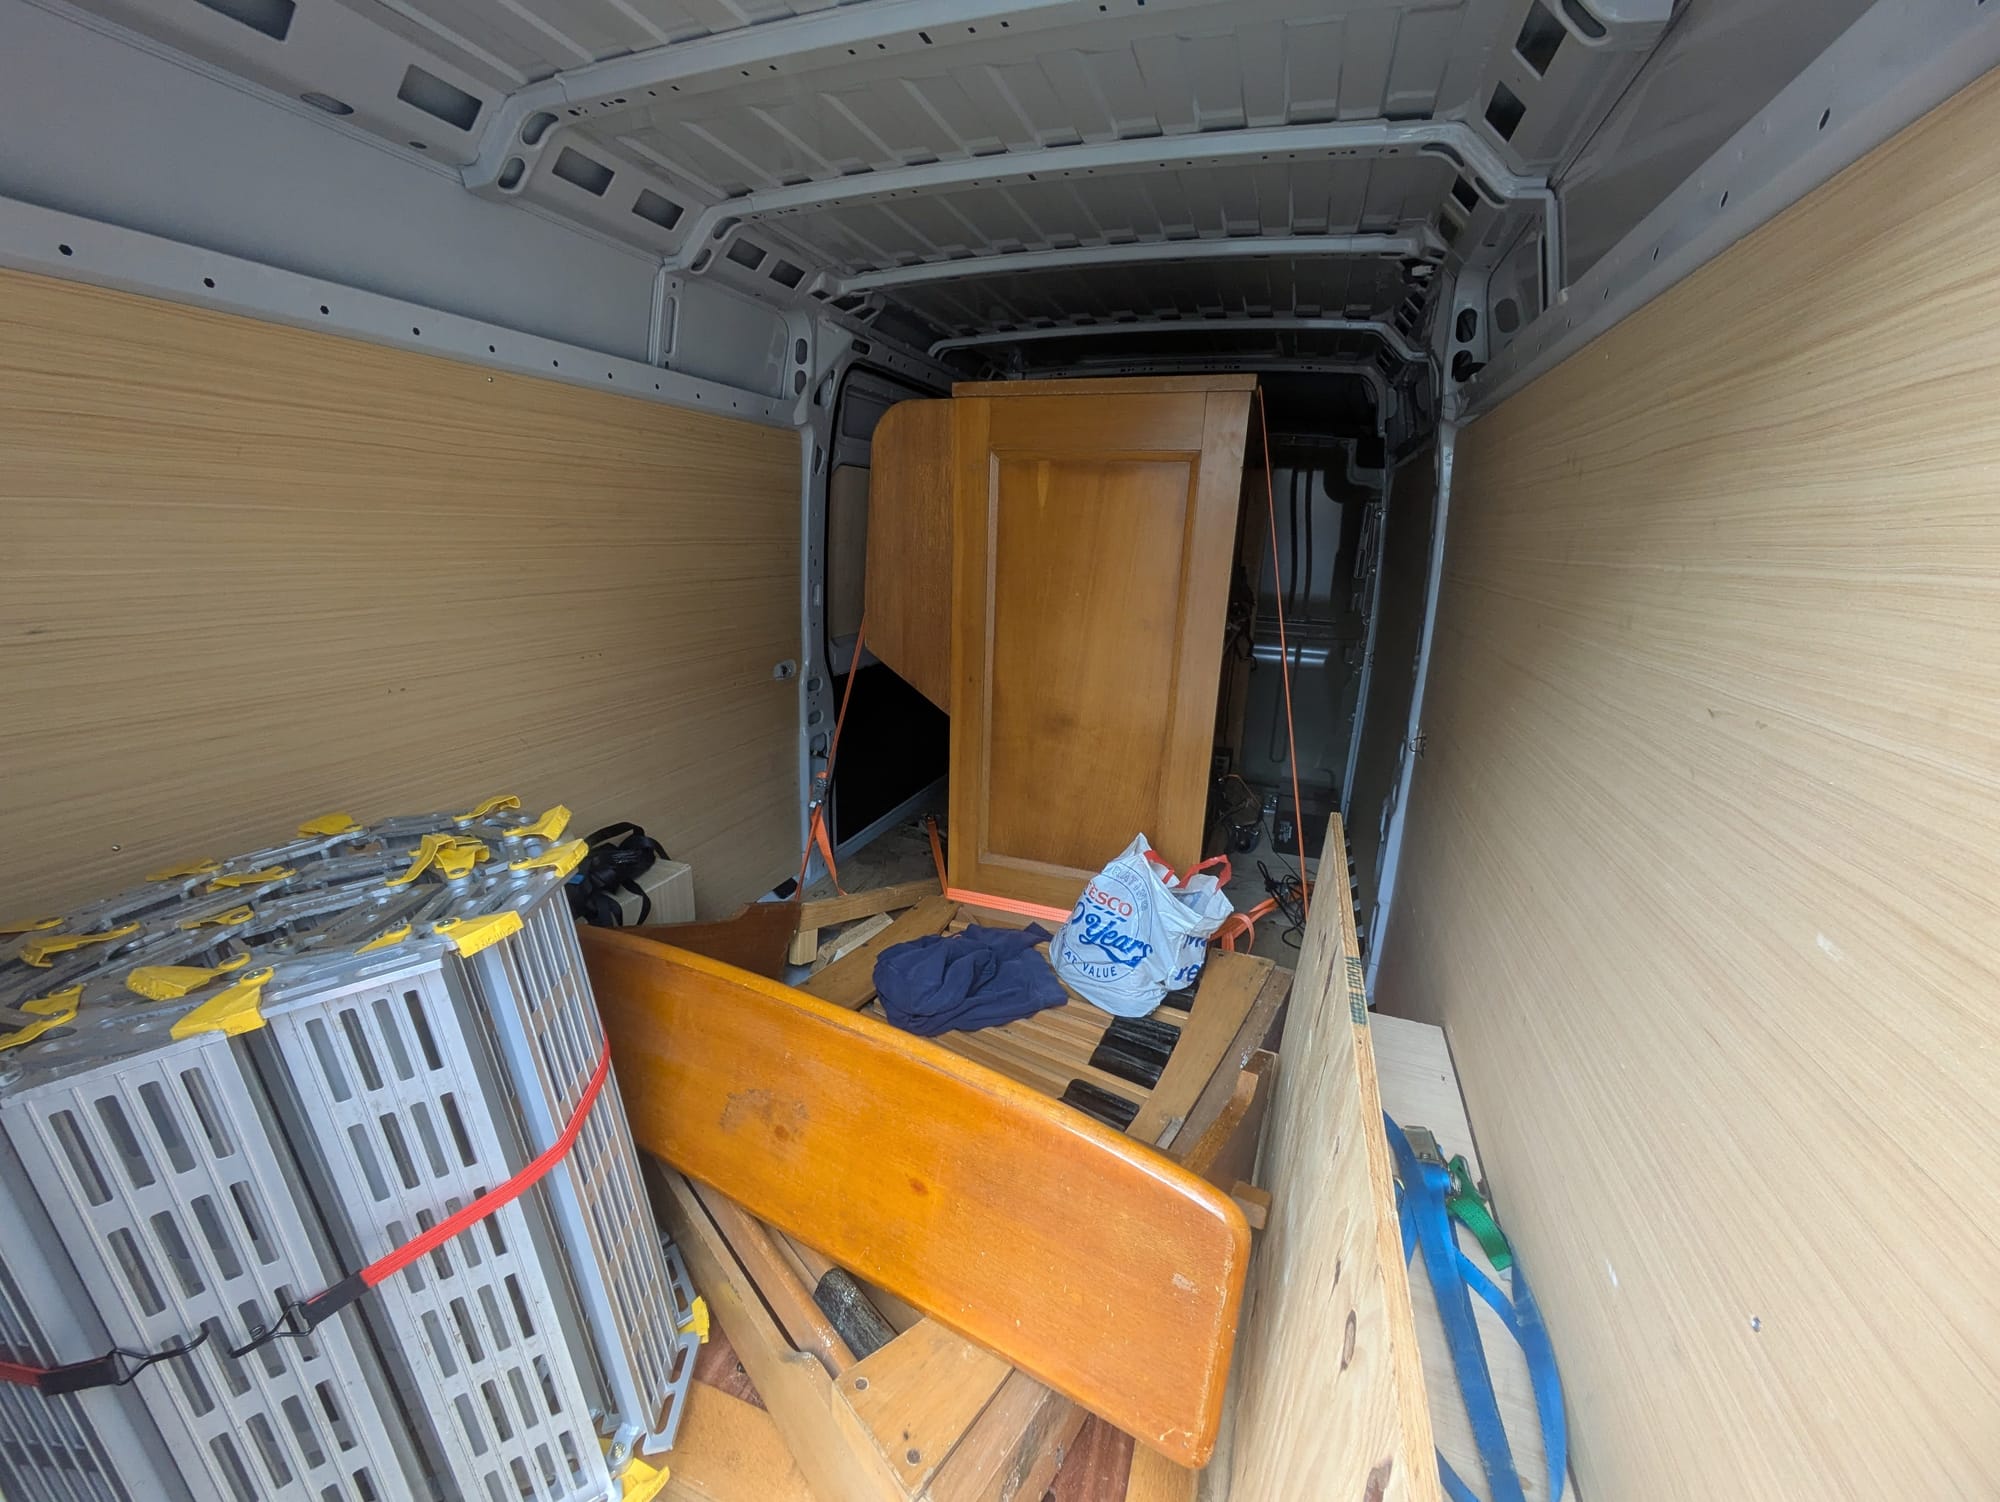
Getting it around and into my house was another story though. Once it was on the driveway, we had to push it along my annoying gravel side-path (which ~200kg of organ does not wheel very nicely along...)
The original plan was to get it into the back garden that day, and then figure out any modifications that were required to get it through my kitchen into the utility room the next day. However, as I had my friends around that day, we decided to get it in from the cold that day. Turns out, after we had it in the kitchen, my careful measuring and constructing of my utility room door (which is wider than a normal doorway!) was slightly off by about a centimeter. Bizarrely, remeasuring also showed that it should fit - but we realised at the base there is a trim piece that widens just the base by a centimeter or two all the way around. Drat.
We had two options: either cut off this trim, or try to remove the wooden wings on the front sides. After removing all the screws from under the organ resulted in no movement, we decided to try the wings. Removing the wings would also allow the organ to (hopefully) fit through normal doors later on if the organ was moved again.
Starting out with the obvious screws, it became increasingly obvious that not only were these pieces screwed, but they were morticed into the lower support wood and the solid side pieces. Even worse, after trying to get these pieces to budge with a rather large mallet, we realised these were all strongly glued together.
Thus, after some deliberation, the power tools came out.
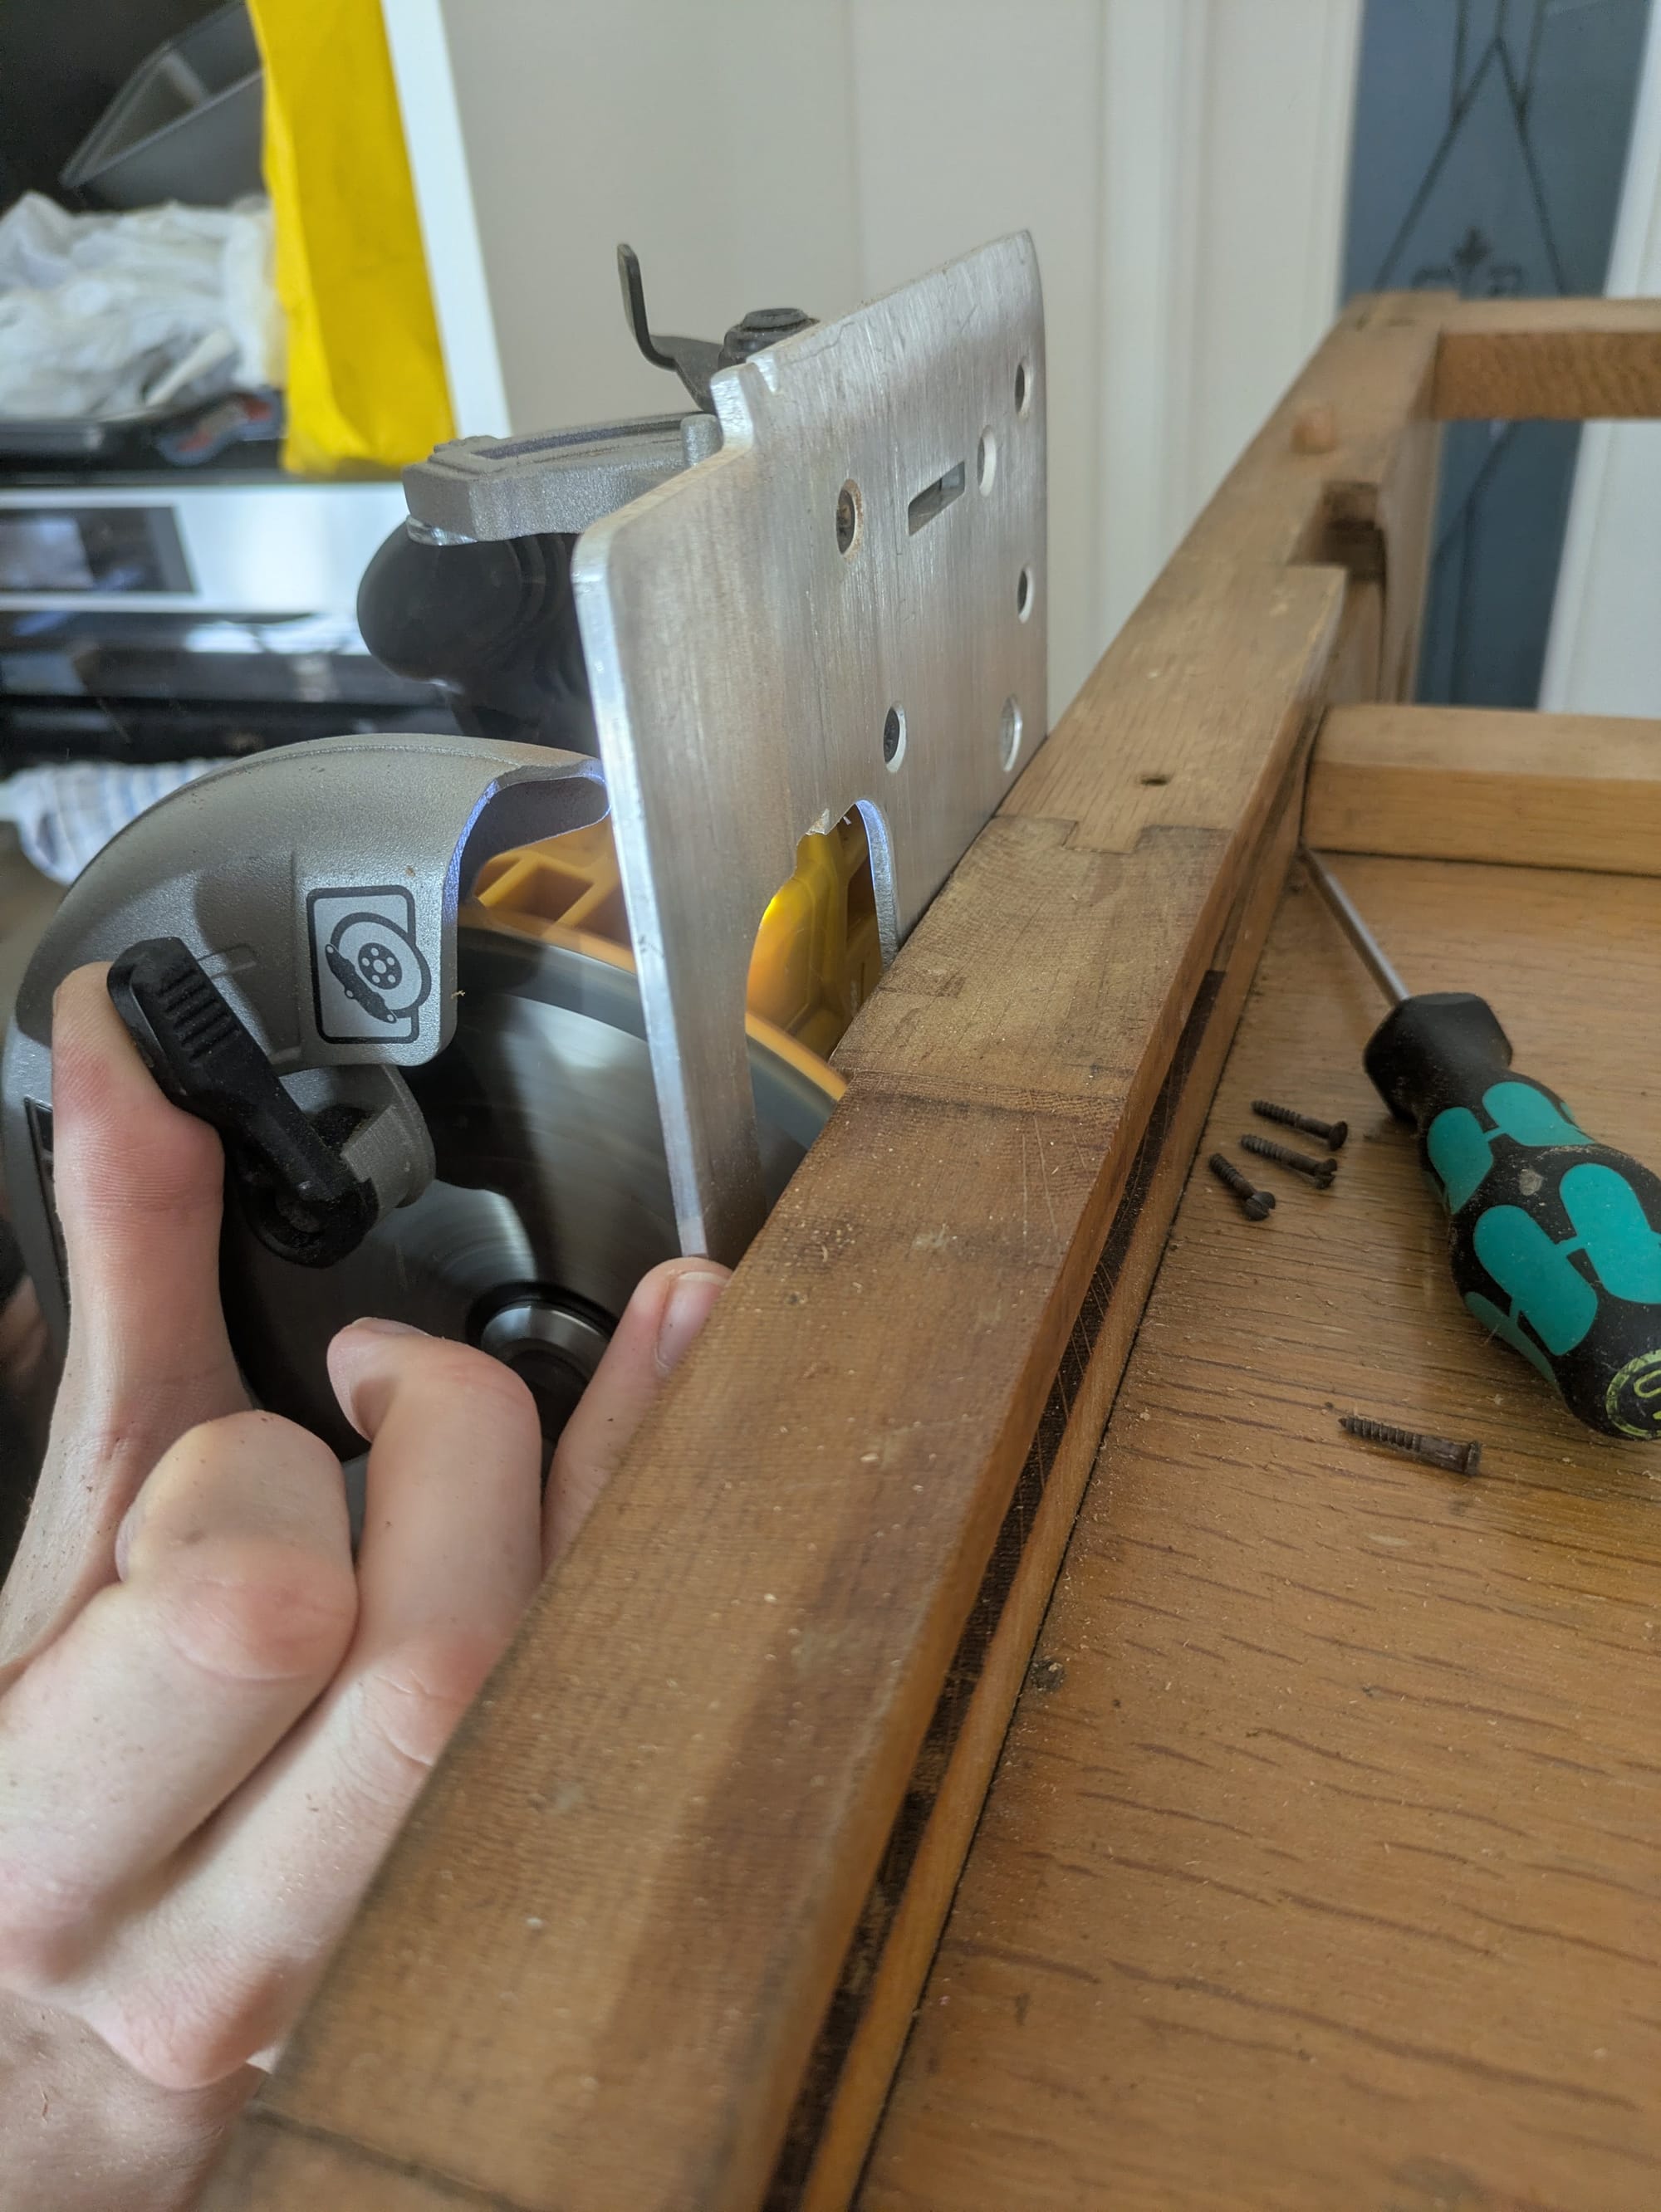
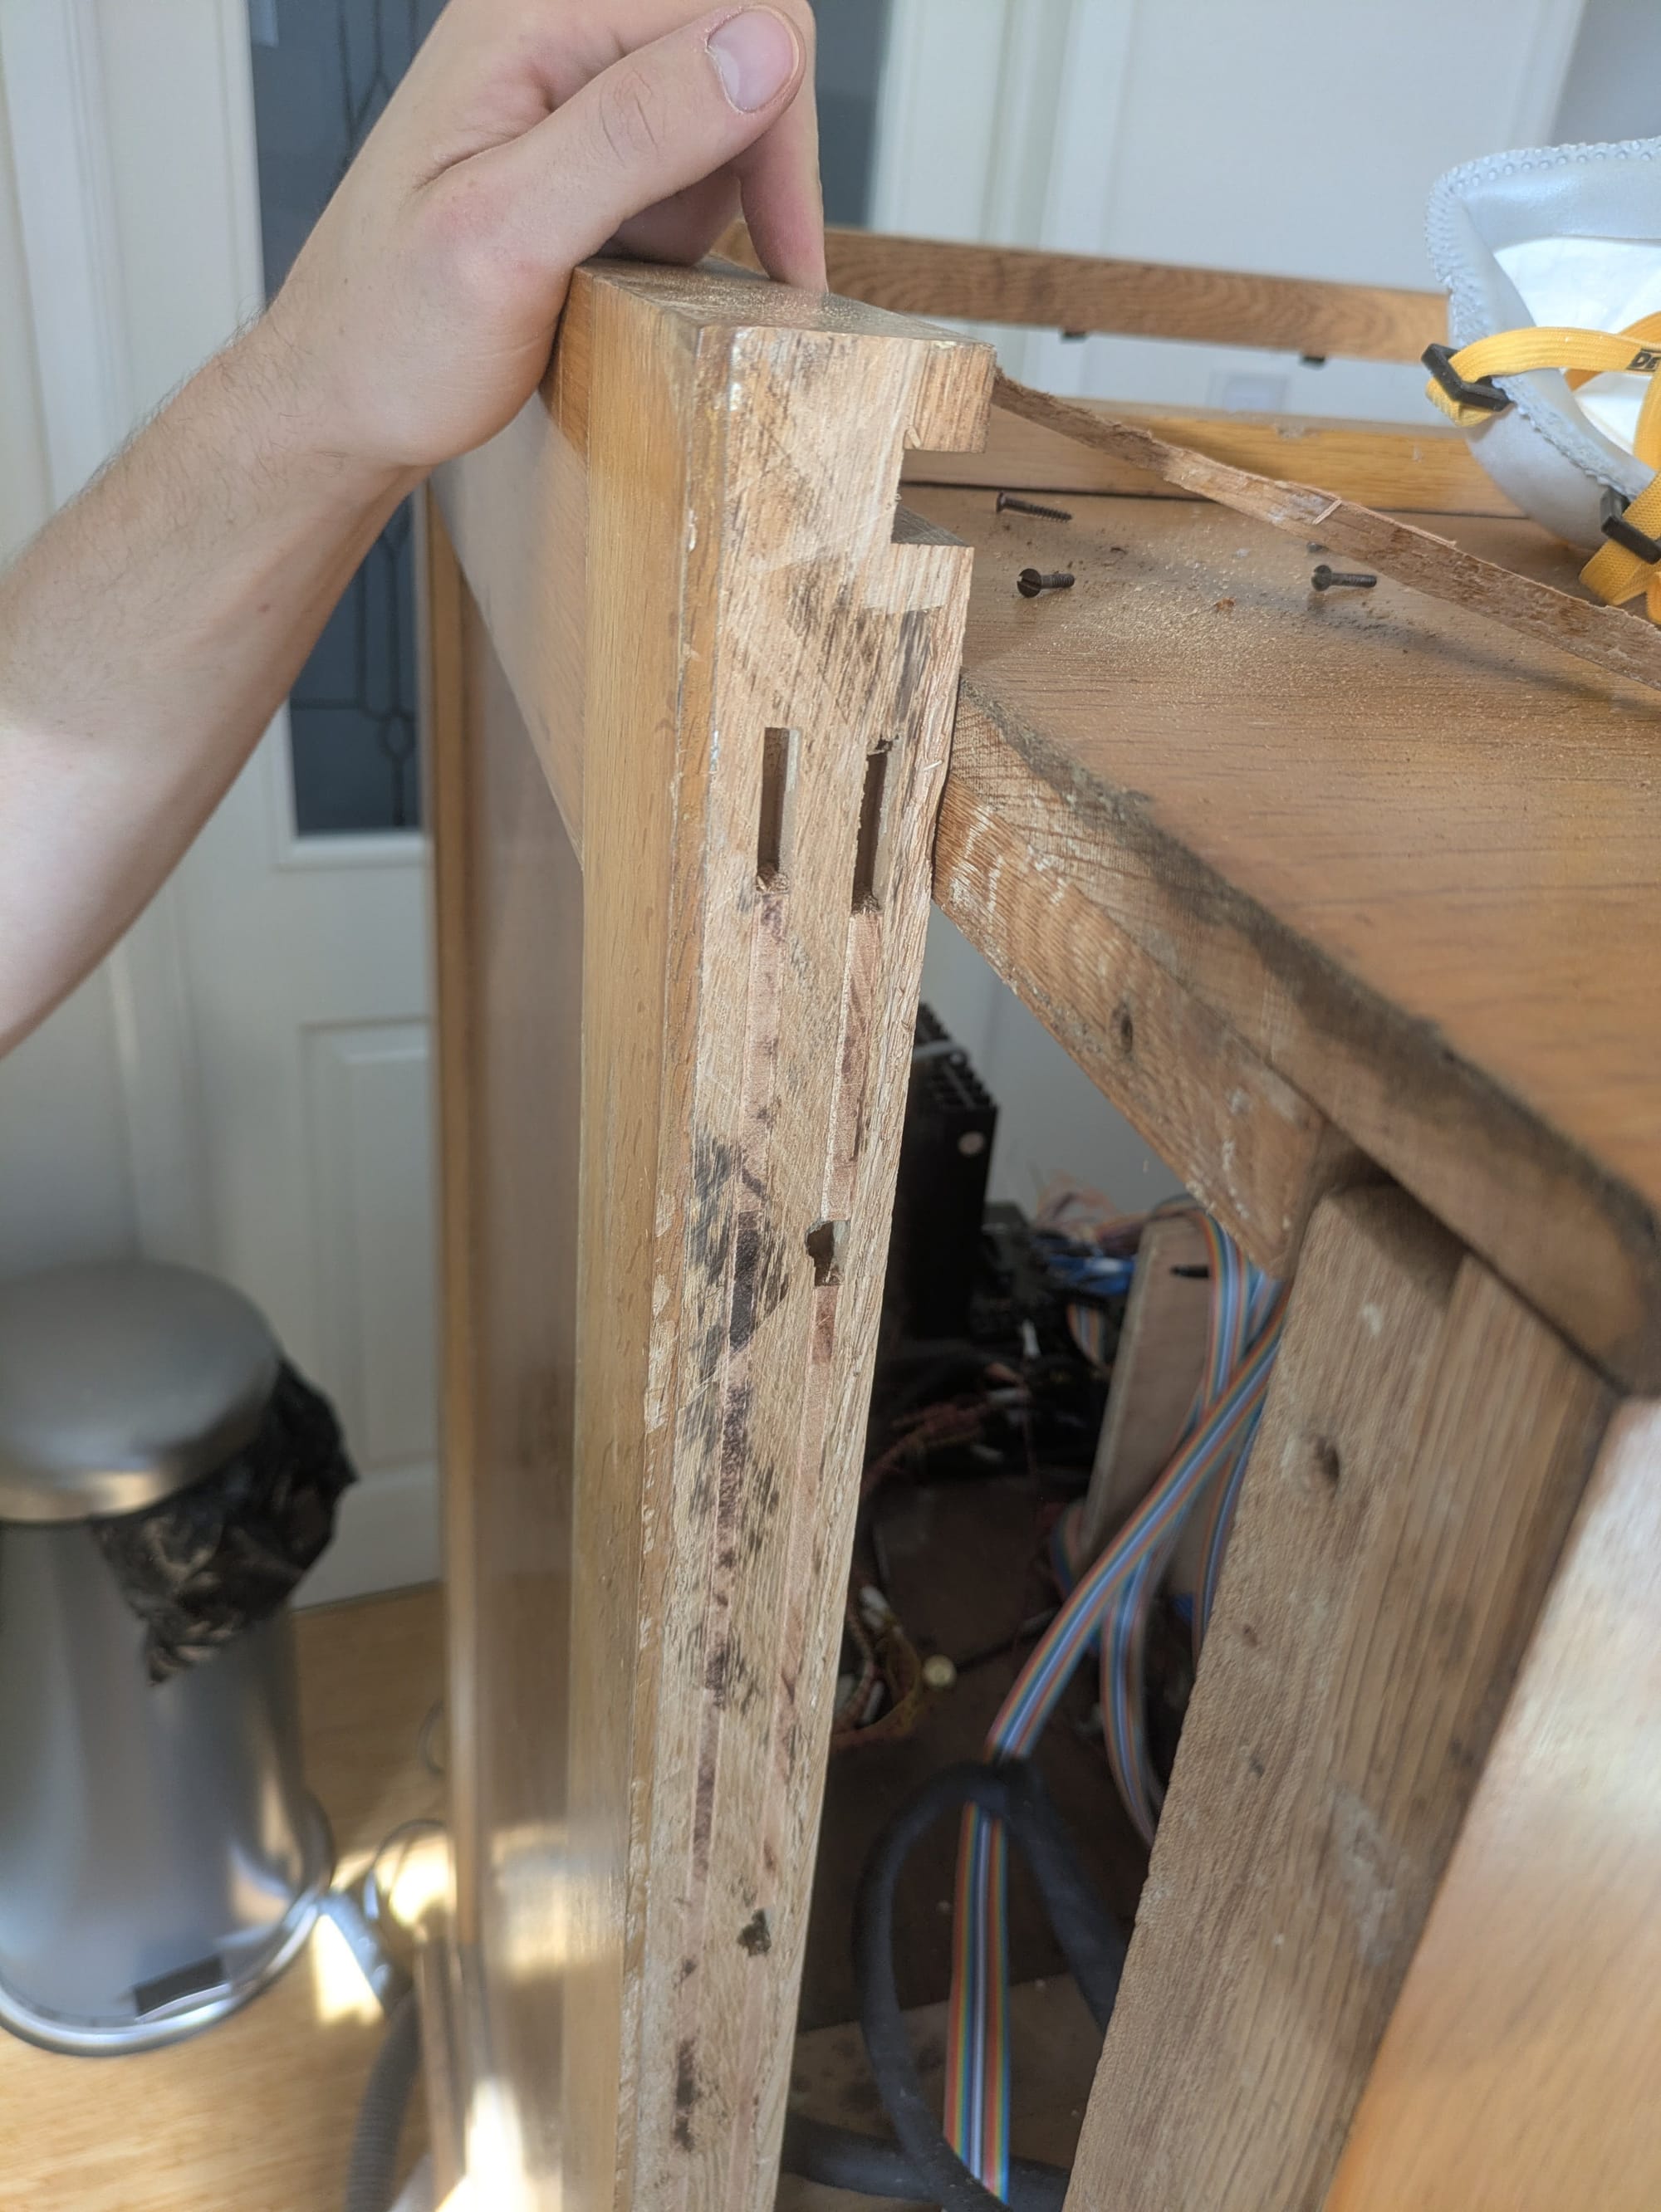
Unfortunately, we found that despite taking all the (flat head) screws we could find out, there was one buried in the mid-drift. Presumably these sides were assembled first, then press fit with the mortices into the assembly that is seen today.
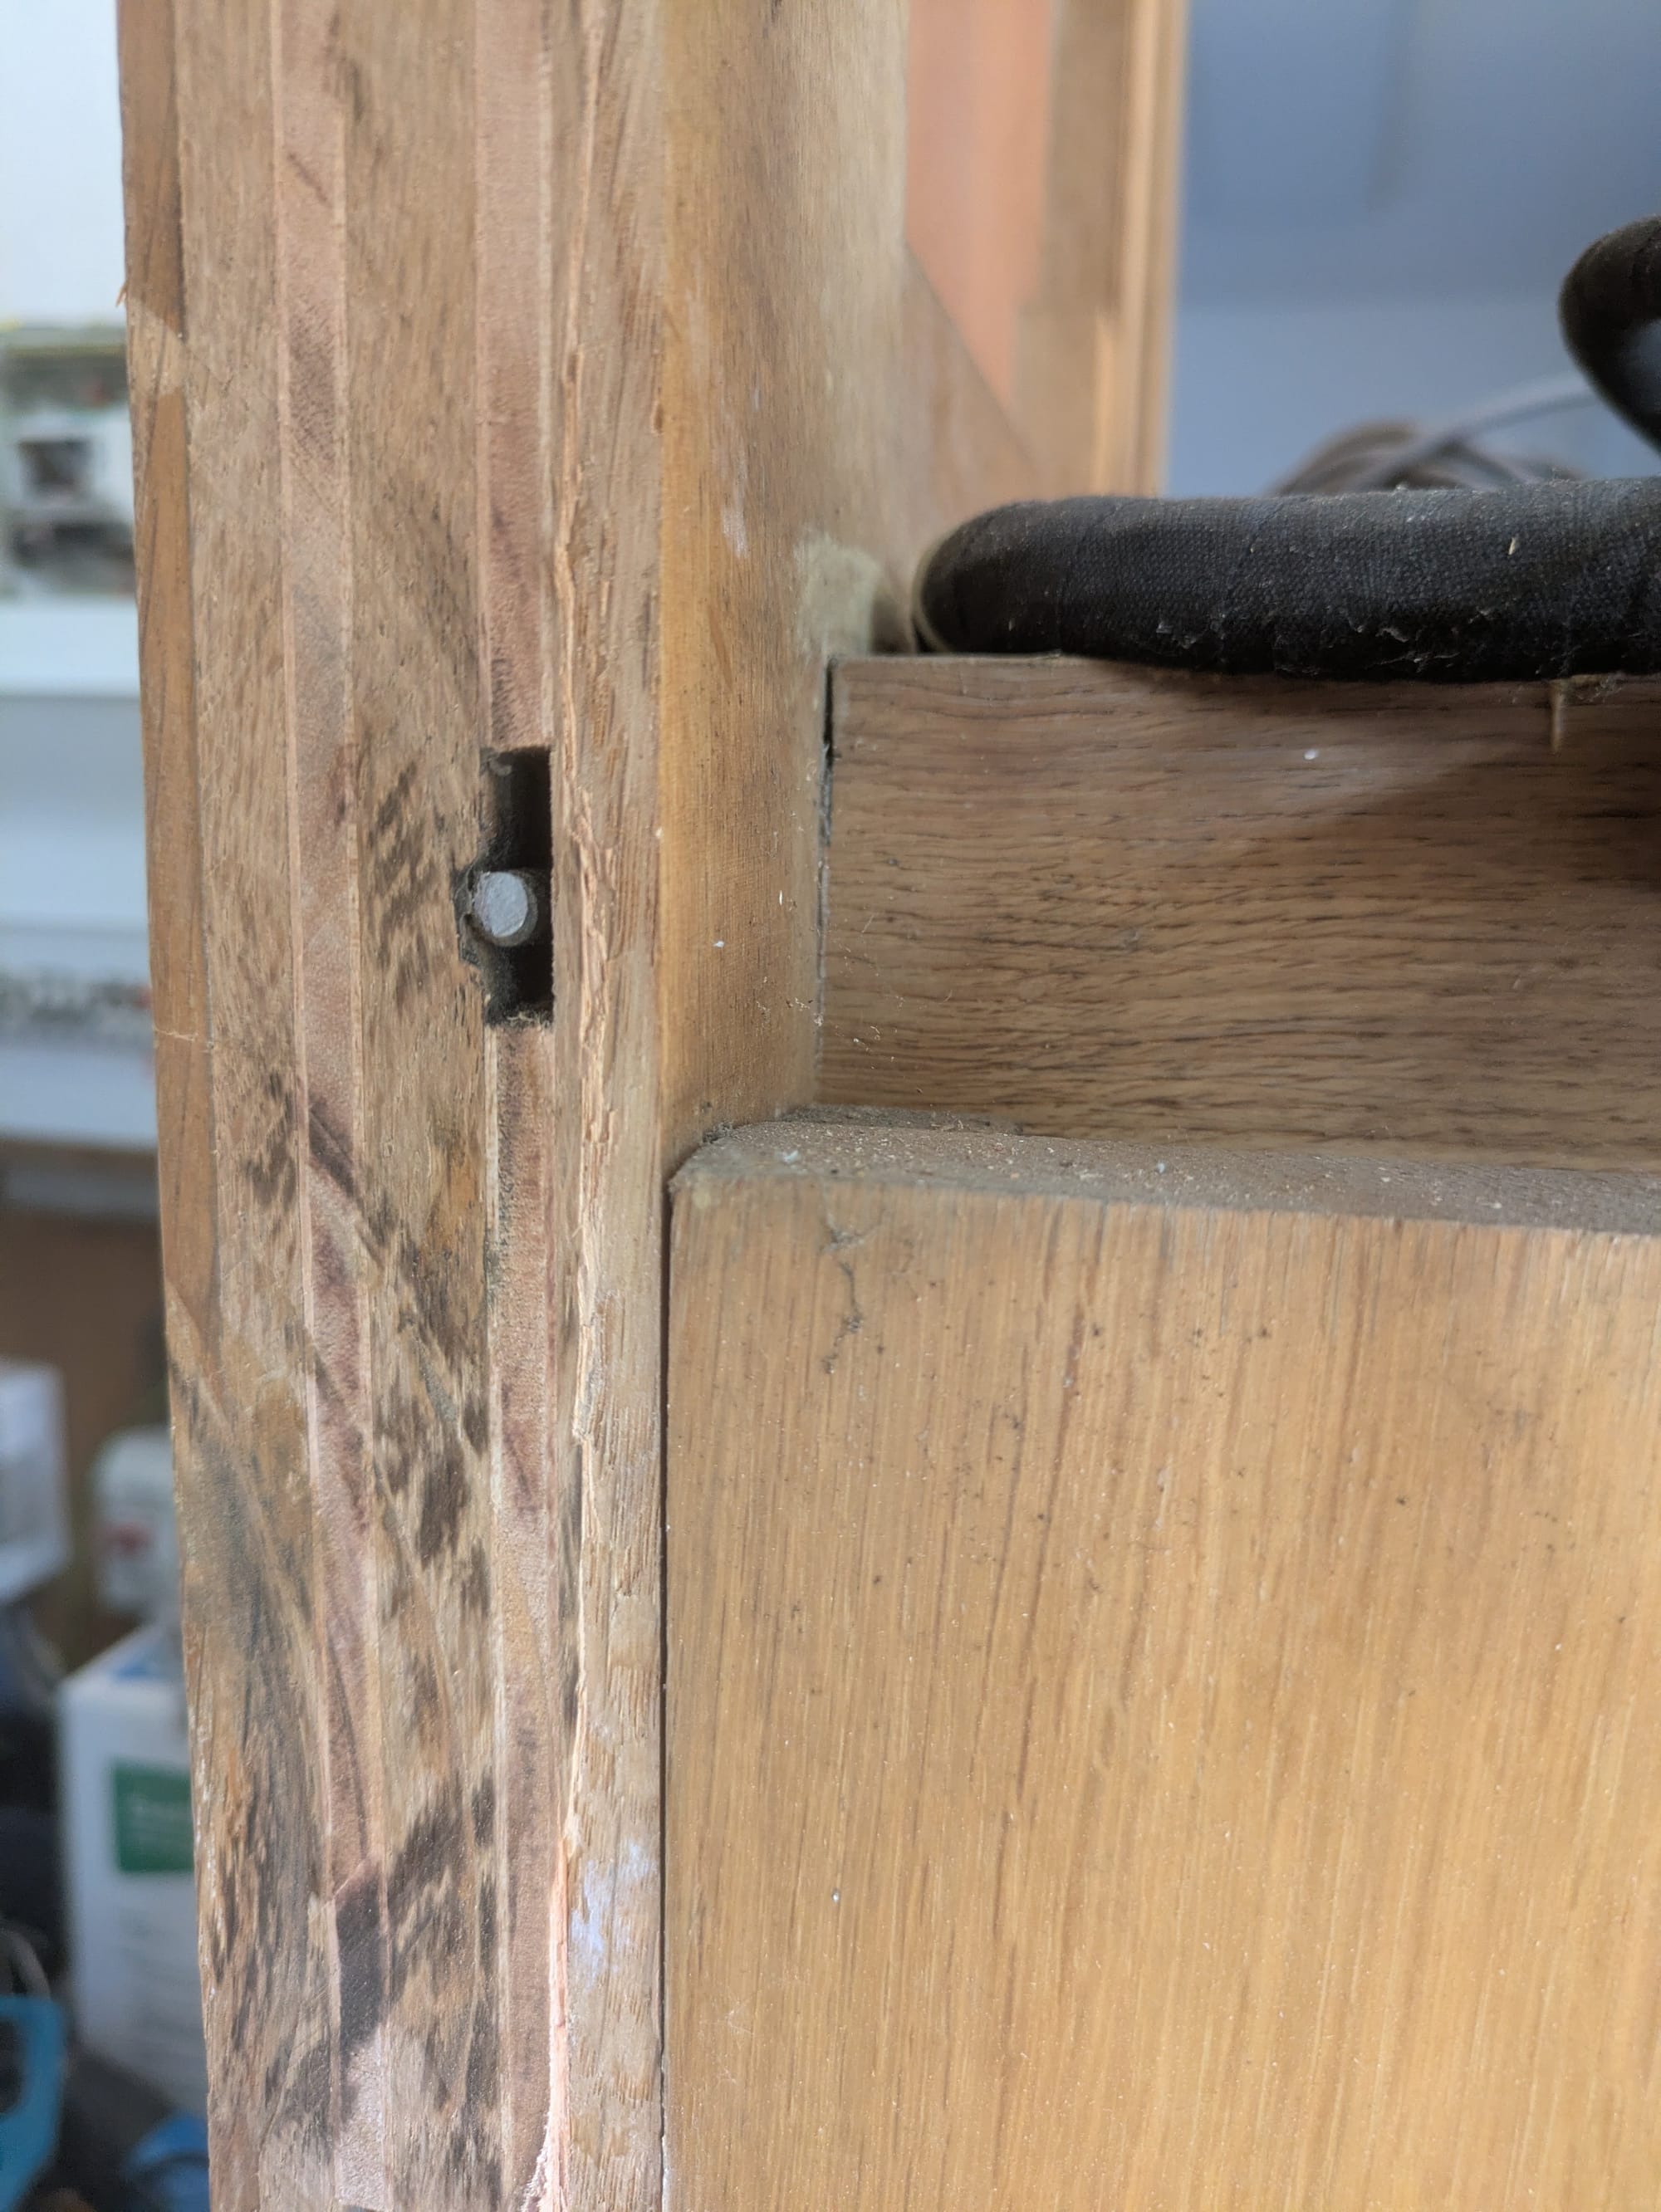
After a sucessful run of the saw, you can see the multiple mortices throughout the entire length and significant surface area that was glued together - hence no movement with the persuader.
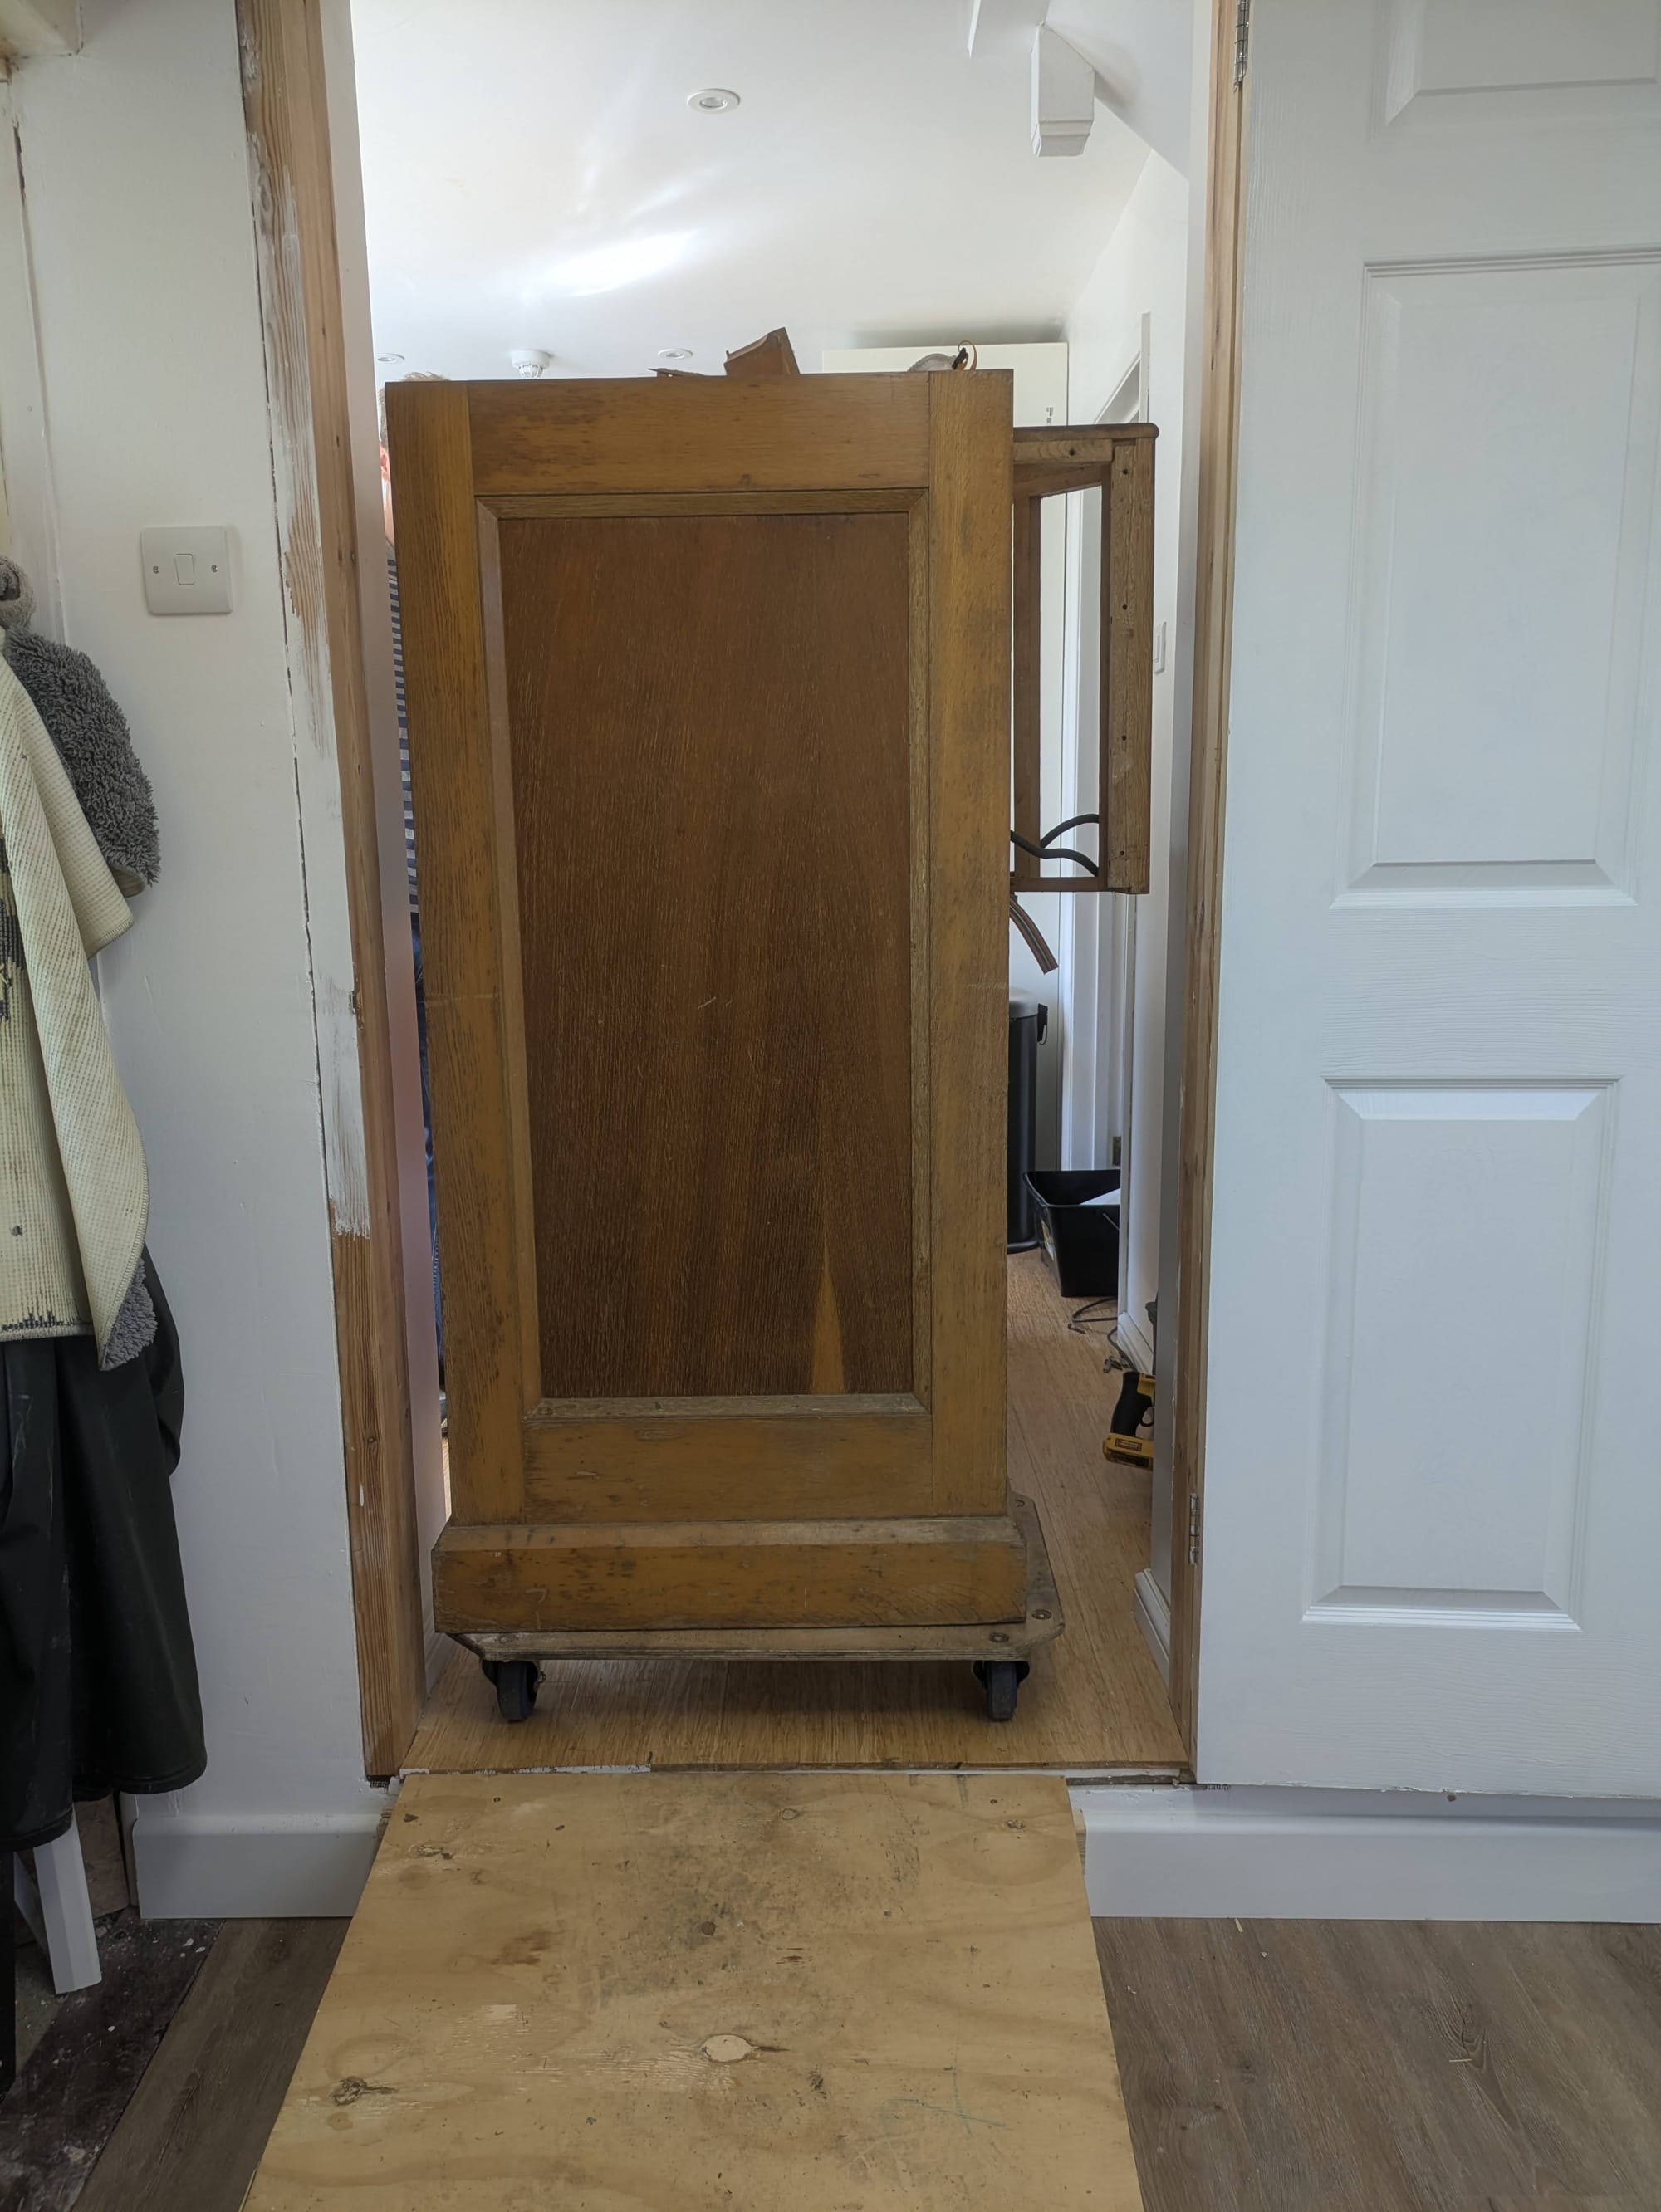
Now that this is done, it fit through the door!
Now, I need to re-attach these wings in a way that is diassemblable again in the future. My thinking is some wooden dowels for positioning and for weight bearing, and (not flathead!) screws for holding the parts together. No glue!